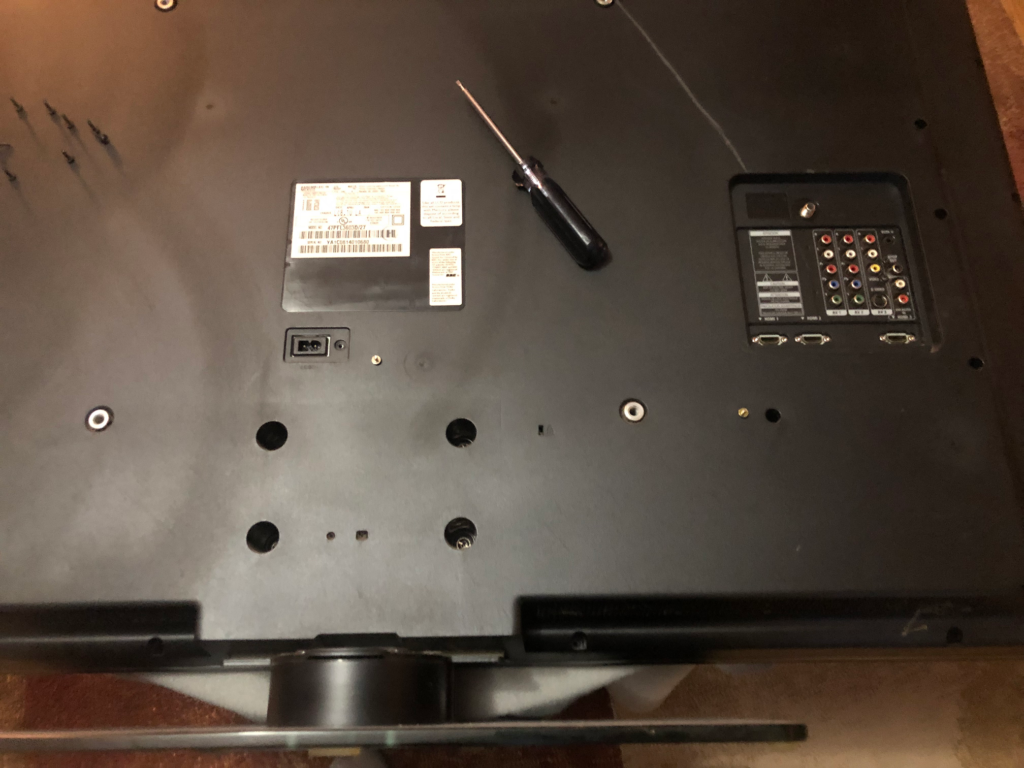
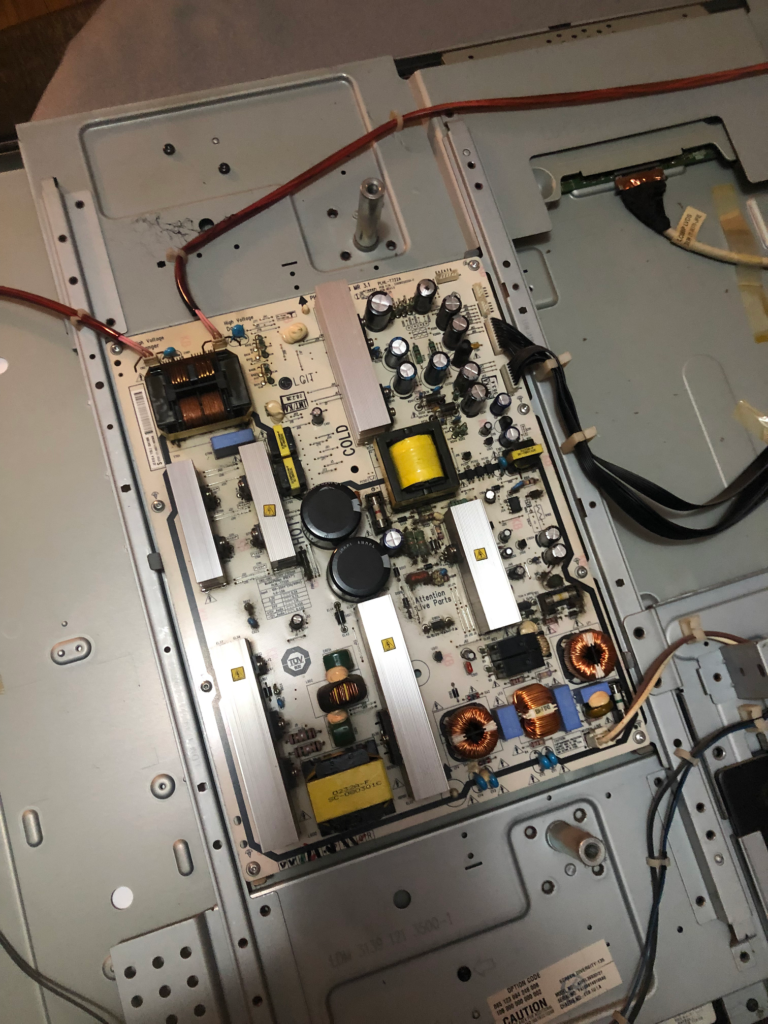
Got a call that a TV had started making a sizzling noise and let out some magic smoke. Figured I’d take a look and just see if it was an easy fix. To get started, I removed the screws holding on the back cover to get a look inside.
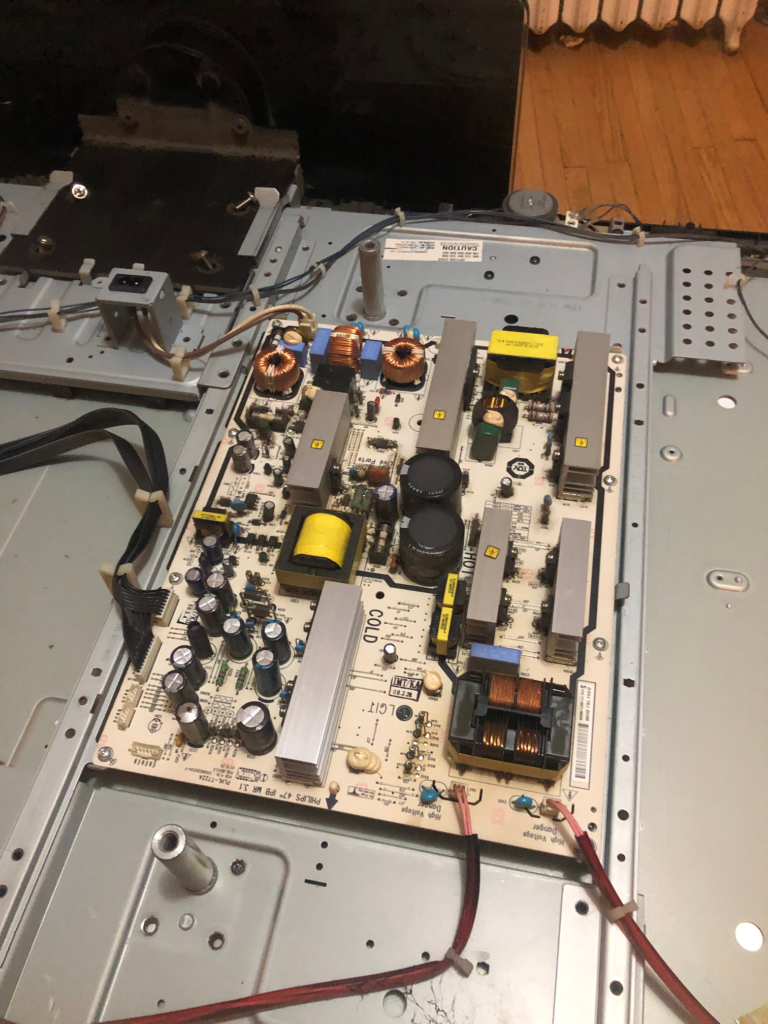
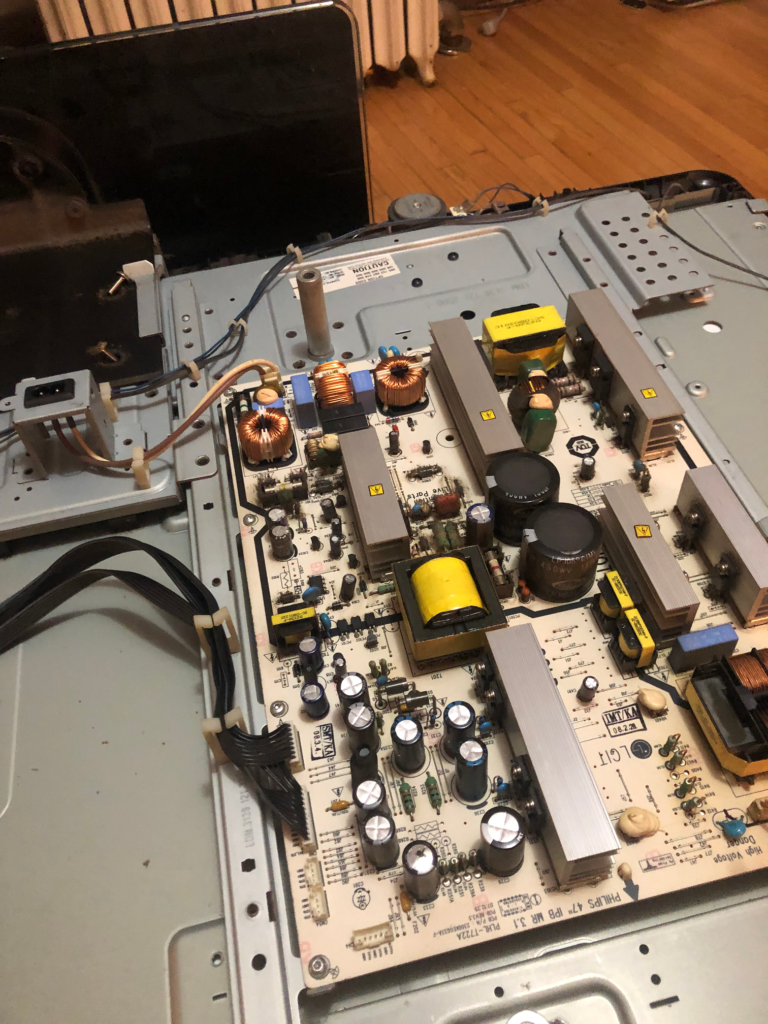
There were three boards in this TV. One for power, one for video and sound, and the third was a small board for the volume/channel buttons to the side of the enclosure.
The most plausible reason was something on the power board burnt up. Very common for electrolytic capacitors to blow and take out the whole TV.
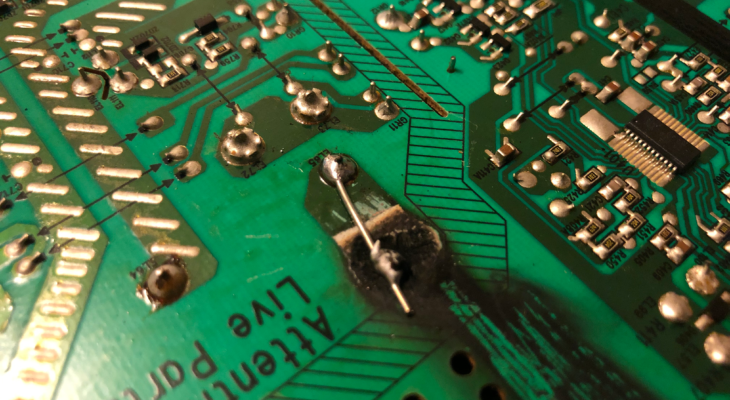
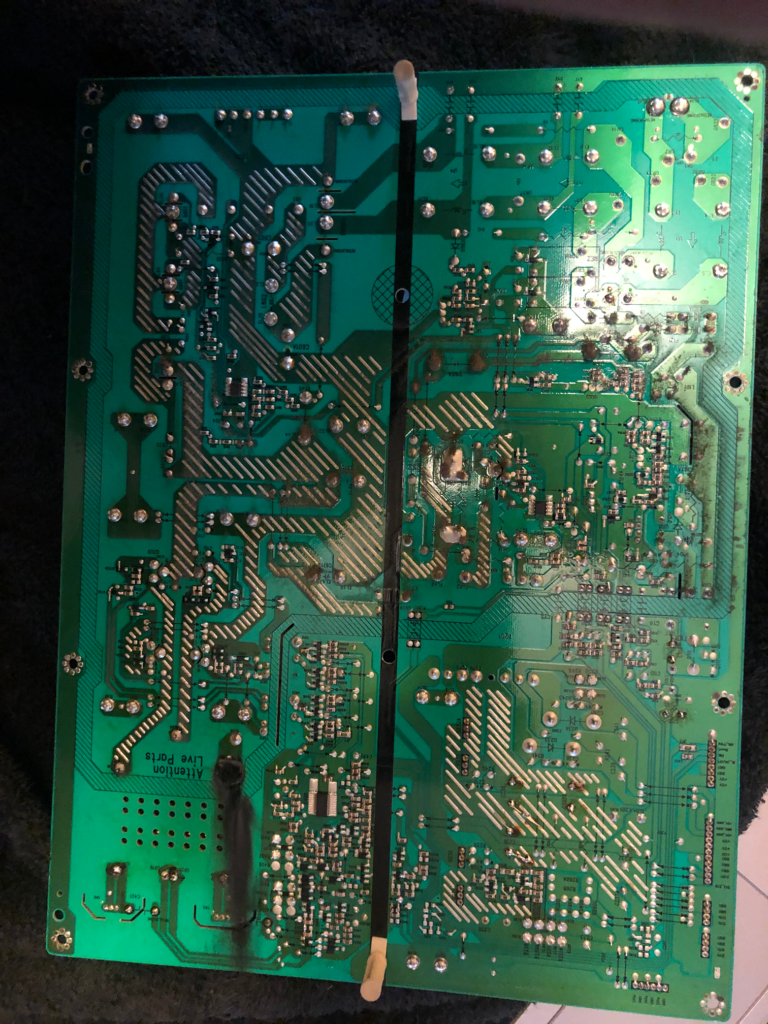
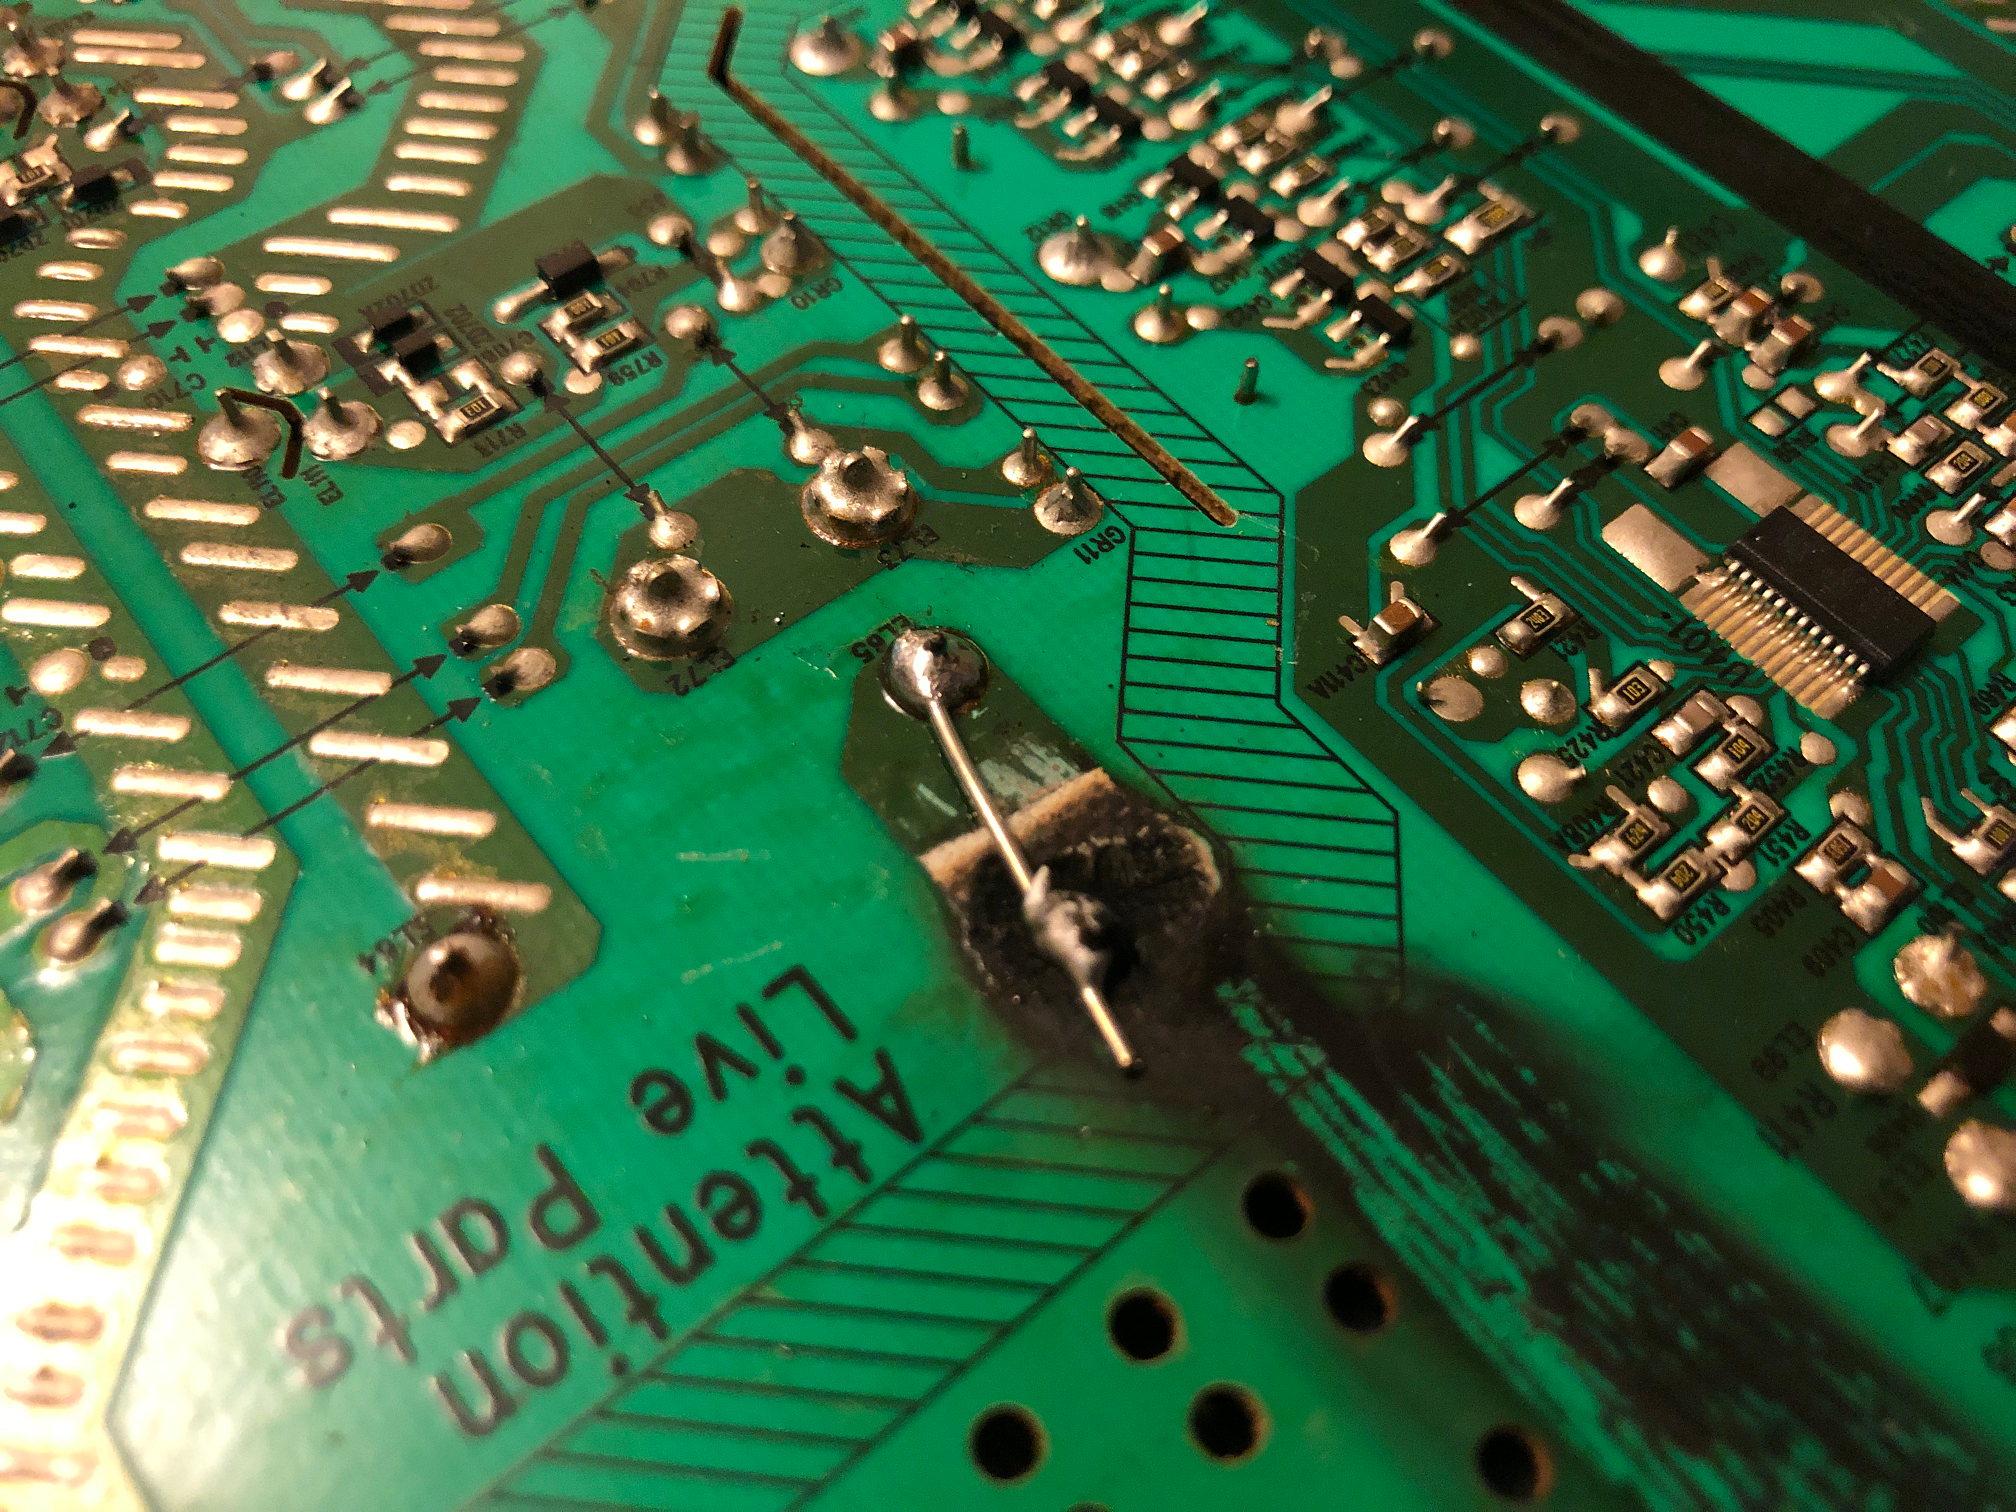
First thing you see if the large burn mark were the PCB had been burnt. Seems the transformer’s primary side had a solder joint that began to arc, which snowballed into enough heat to burn the fiberglass PCB. (below left)
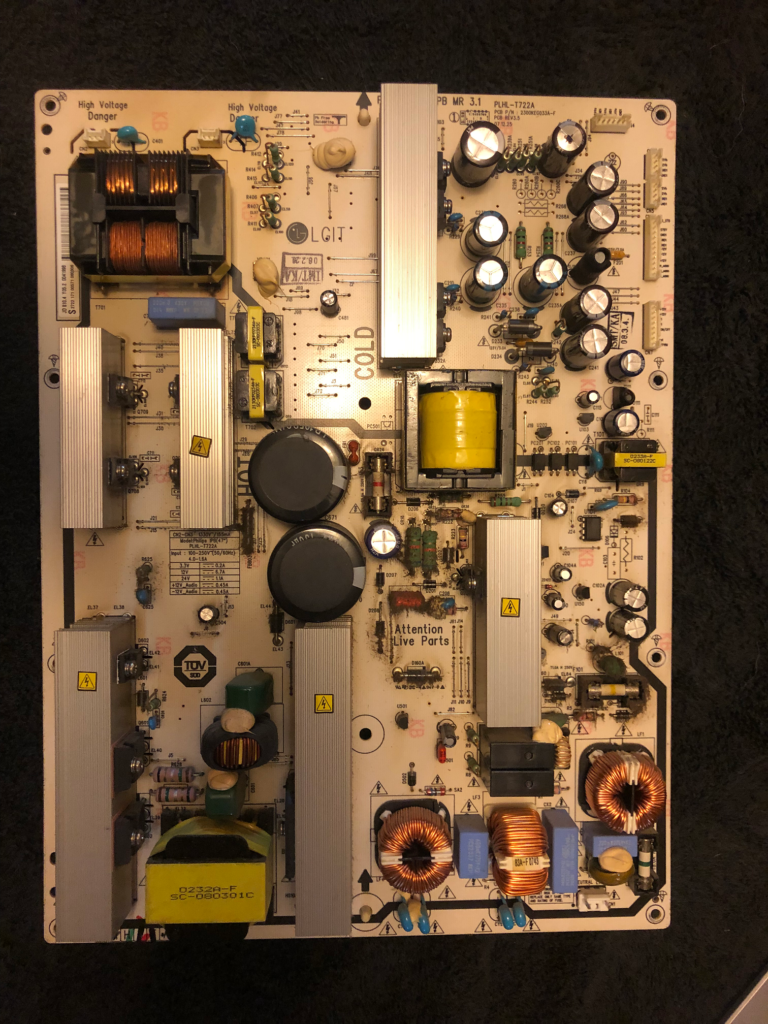
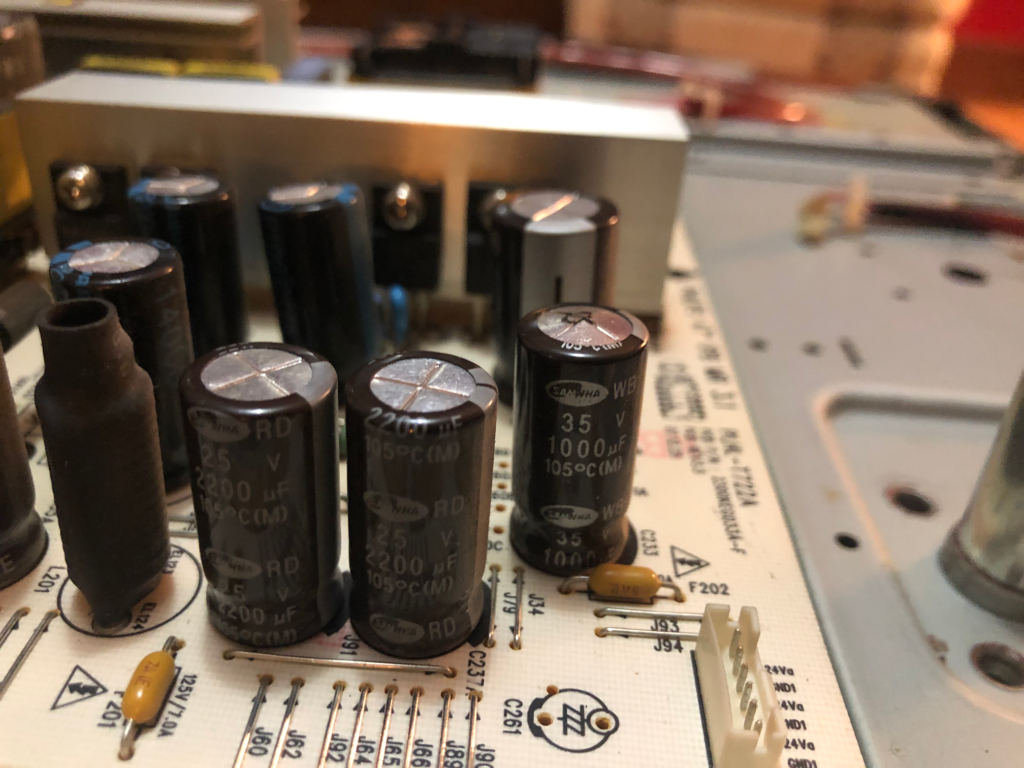
Looking for other components that could have failed along with the arcing solder joint, in the photo on the left (below right), you see a electrolytic capacitor with a little black dot. It blew it’s top and will also need to be replaced.
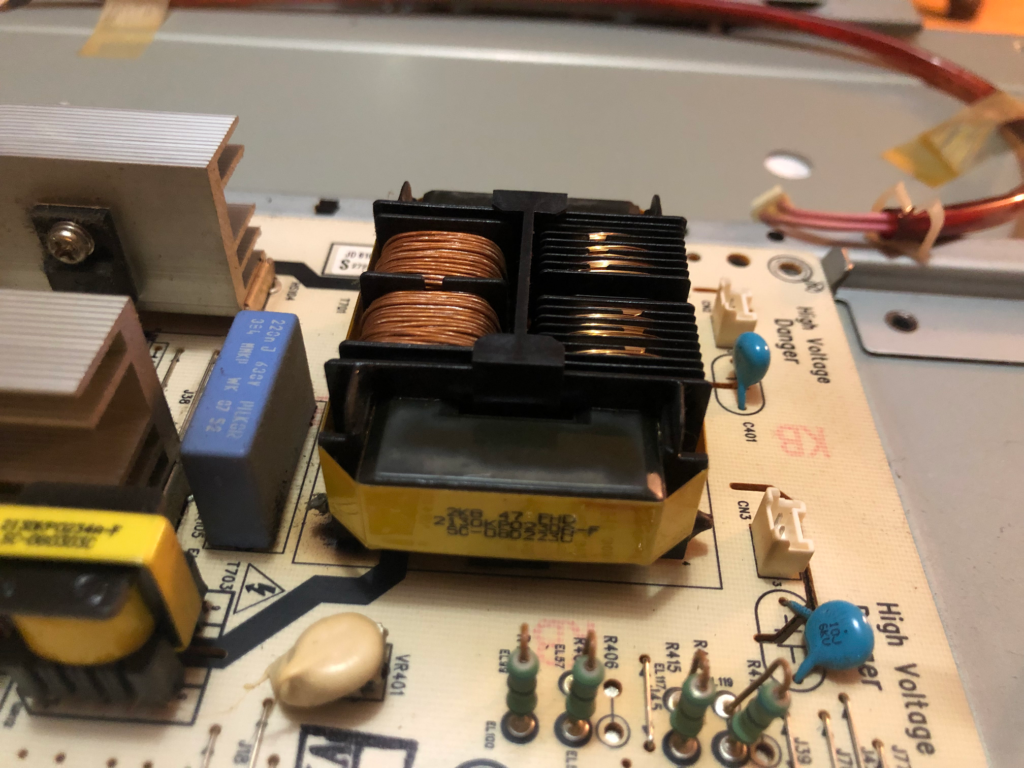
Testing the primary side of the transform, I see it had continuity, which is good, because now I won’t need to rewind it with new magnet wire. And a new 35v, 1000uF capacitor which easy to replace.
Everything on the transformer looked good. Nothing Burnt.
On the most right side, with the bulging top.
After scraping out most of the burnt PCB, I was able to solder in a small piece of silver copper wire to connect the pin the trace to replace the damaged trace.
Before putting the back cover on, I stood the TV upright and connected the power cable. It seemed to be fine with just being plugged into wall power, so I pushed the power button. And it popped on and booted up. I connected something to the HDMI port to give it something to show on the screen and let it run for a few hours. No issues. Put the cover back on and put it back in place.
Thanks for following along, it was fun to attempt a TV repair, and I look forward to attempt more repairs. For some recent project, check out the posts below!
Another repair job, another chance to take something apart. Power strips are just a couple duplex outlets parallel together. Taking this one apart, it was obvious …
Continuation of the posts Breadboarded: Hydro Controller Prototype and Coded: Hydro Controller Prototype. To make the breadboarded circuit easier to work with, I transferred it over …
A continuation from the post Breadboarded: Hydro Controller Prototype, I wanted to spent a bit more time discussing the basic functionality of the controller, and where …
Using twenty 18650 lithium-Ion cells, I created a battery pack that would be used in a (then) future project of a custom electronic skateboard. Using a …
I recently purchased a LEKATO Guitar Effect Pedal Guitar Looper Pedal, but didn't realize it didn't come with a 9V power adapter. Digging through my box …
https://www.youtube.com/watch?v=sLDaQKP_ses Using a stencil to apply solder paste, then using hot air to reflow (melt) the solder paste, soldering the chip in place.
Continuing to play with Microchip's new line of 0-series and 1-series means I should figure out a more permanent solution to program the microcontroller. Using jtag2updi …
Some projects require a oscillator for a carrier wave for a modulated signal, digital clock line, or timekeeping. Typically, computer use quartz crystal XTAL oscillators to …
I've finally built a fume extractor out of some spare materials and parts. Needed to buy the activated carbon filter, but everything else I had salvaged …
GitHub repository can be found here: TLC5916_Lite Appending to post, TLC5916 Driver Library. I ported my code over to be an Arduino Library. I tested it …
GitHub repository can be found here: TLC5916 Driver Library In continuation from the previous post, Coded: Curiosity-Nano — Thermistor with four 7-segment display, I wanted to …
Continuation from: Breadboarded: Curiosity-Nano — Thermistor with four 7-segment display Next post for TLC5916 Library for ATTINY1627 can be found here: TLC5916 Driver Library Ok, you've …
For my final group project in Engineering programming at Portland State University, we were tasked to create a counter on a 7 segment display. Even though …