I’ve finally built a fume extractor out of some spare materials and parts. Needed to buy the activated carbon filter, but everything else I had salvaged or had on-hand.
Parts/Material List:
- 0.4 Inch thick activated carbon filter (link: Amazon)
- 120mm computer case fan
- Foam board
- DC jack
- Single pole double throw switch
- Common cathode LED
- 460 ohm resistor
- 1N4007 Diode
- Coat hanger
Starting off, I made a quick sketch with dimensions.

I’ll need two 120mm pieces and two 131mm pieces, and the sheet I’m cutting from it large enough for me to get one long piece of each length to cut in half.

I’m going mount the switch and dc jack to one of the side walls, so let’s take a look at the circuit diagram.

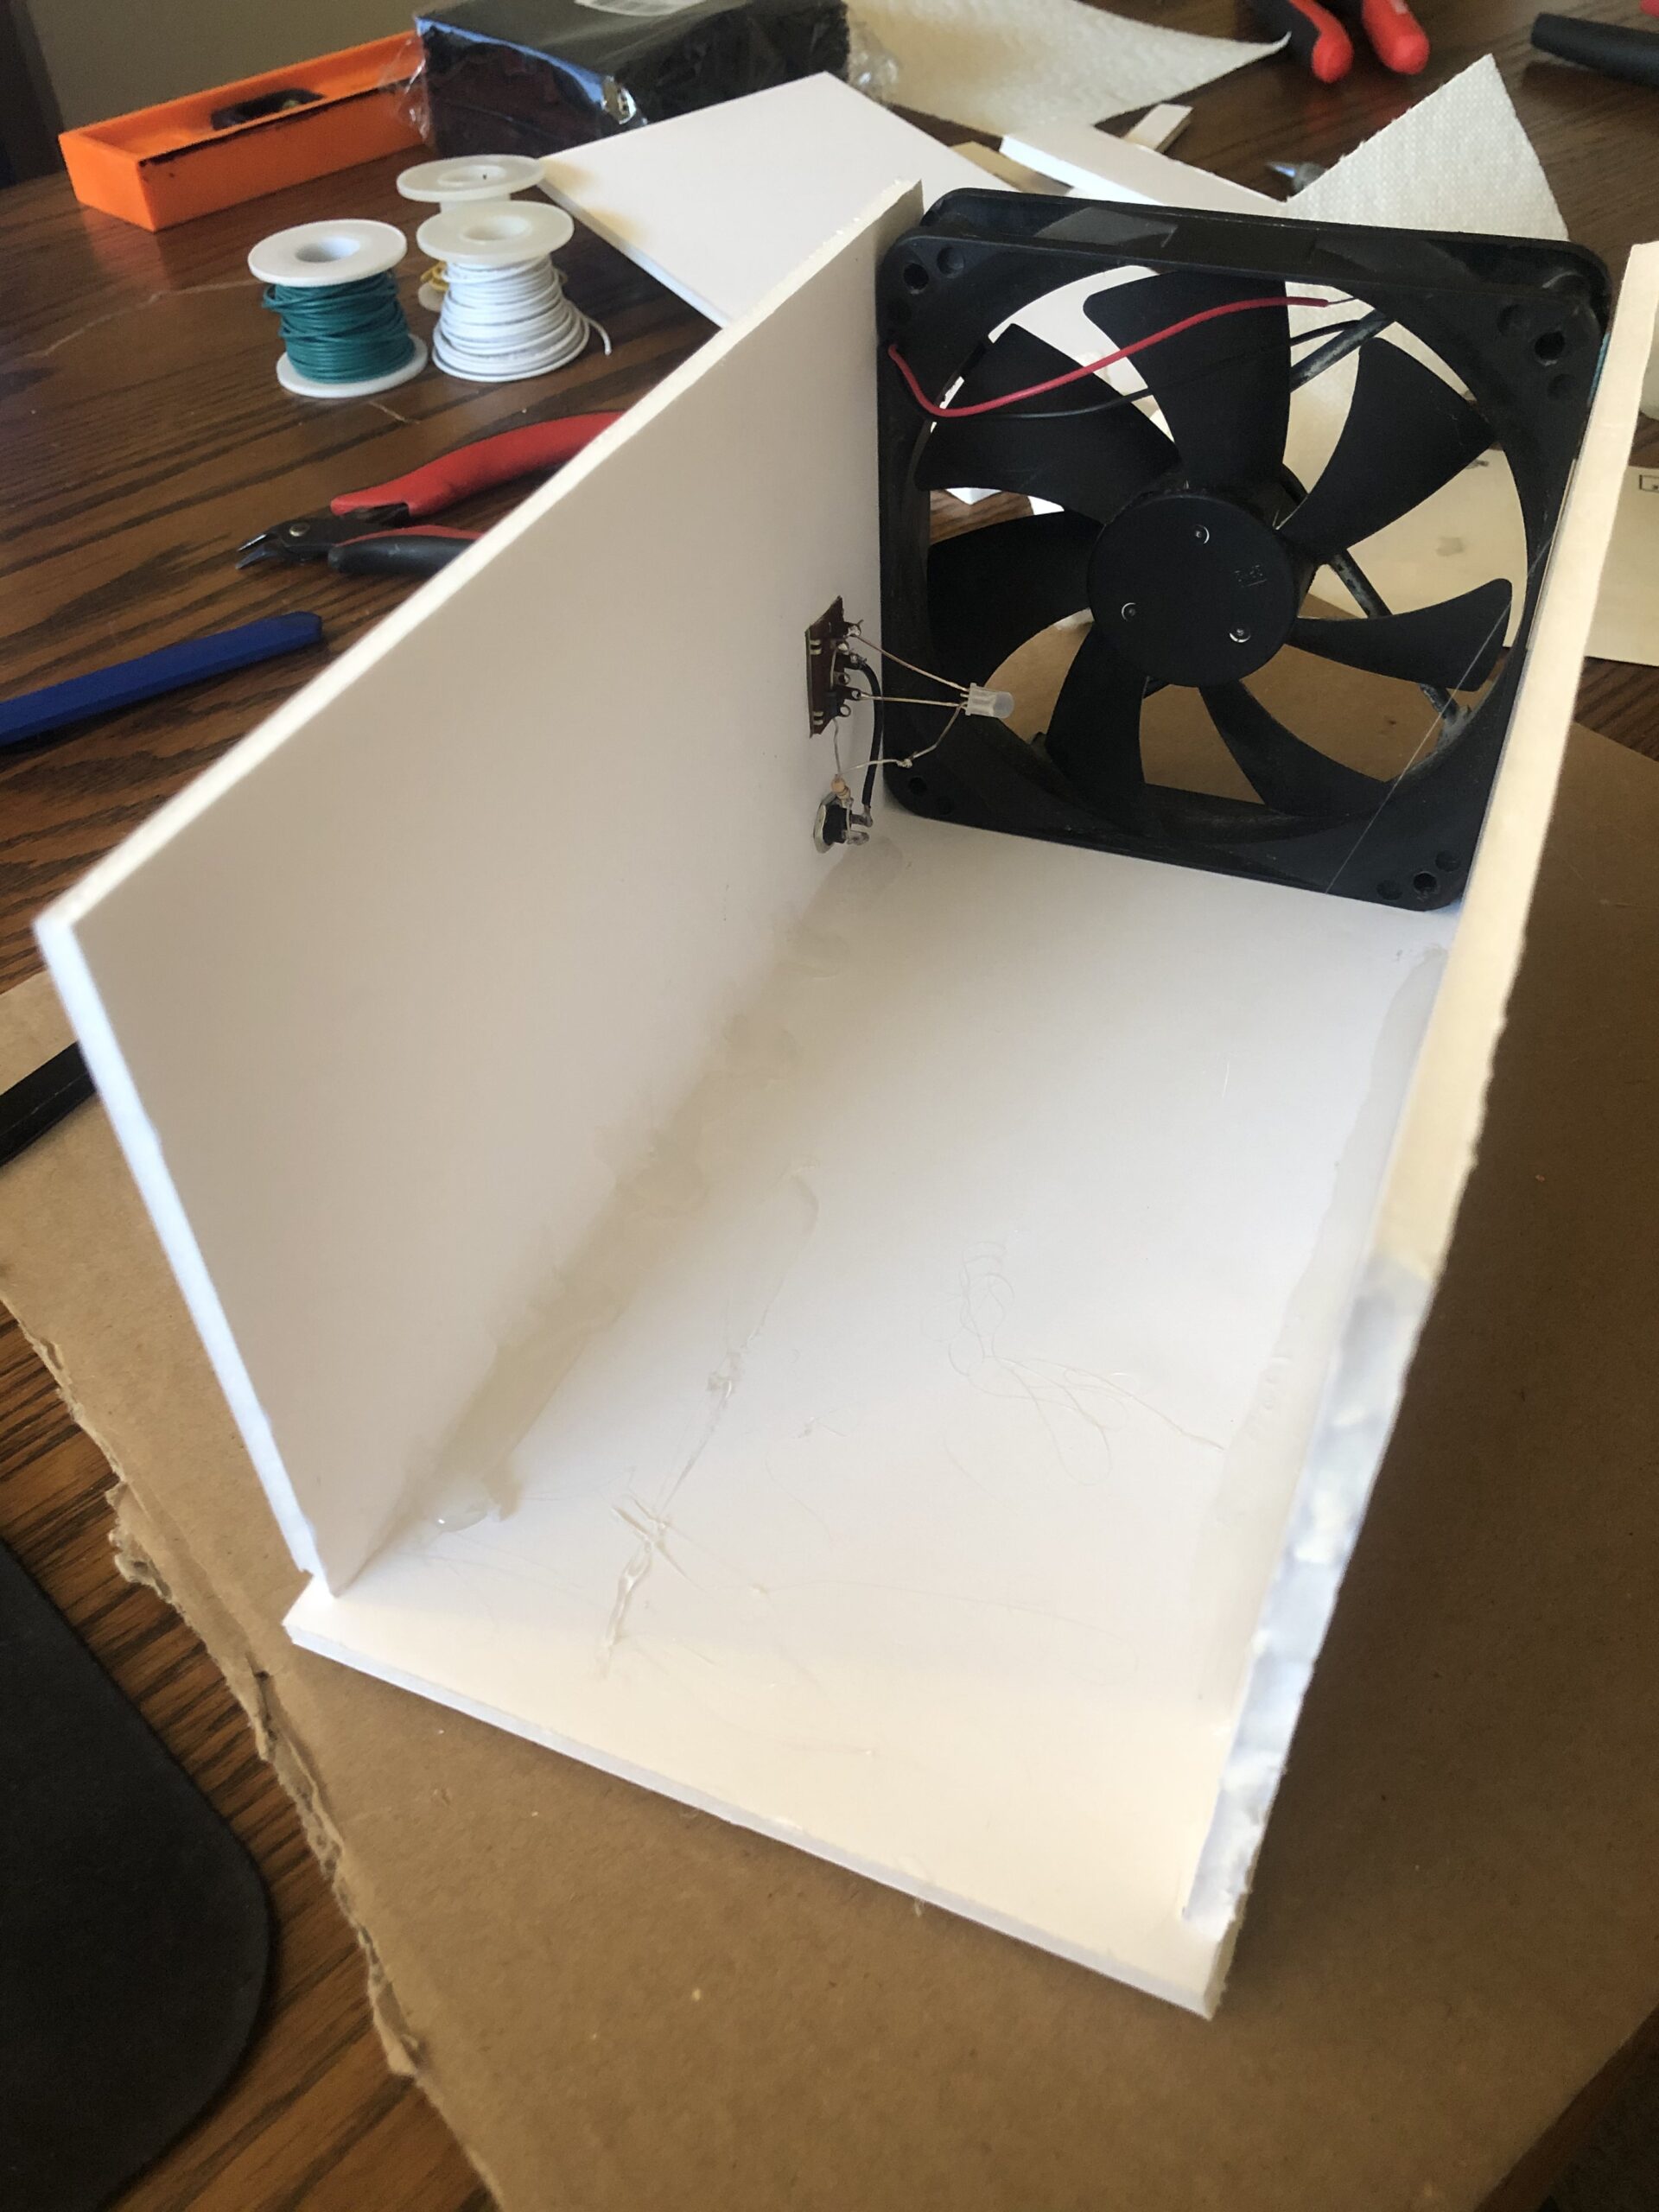
And here it is implemented.

Putting the fan in place to help straighten the walls, and applying some hot glue to the seam. I learned if I applied it to the wall just above the seam, it would drip down and cover more surface area.
Shifting back to the front, I cut and bent a hanger, and glue it down on the inside to act as backstop for the filter.

I had originally planned to use some of the trimmings from earlier cut, but I thought it would look nice to have one solid piece as a front plate.

I measured and cut a hole with a 1cm border to keep the filter from popping out the front.

Gluing that in place, we can add the filter and test it out.
It worked, but I think I will move the backstop back further to add a second filter. And the fan is too far back. I’m going to move the fan in more.

How much did that improve the performance?
I didn’t like how porous the filters seemed to be, so this gave me the opportunity too add another filter behind the fan.

Before I keep adding more filters, I will need to pick up another 120mm fan, but adding the first fan to this project was easy, so adding another should finish out the project.
Thanks for following along and check out some of my other electrical engineer Please check out my recent posts to the right and thanks for following along!